Can I Use a Stove with a Roof Cover?
By Hari Seddon Jun 14, 2023
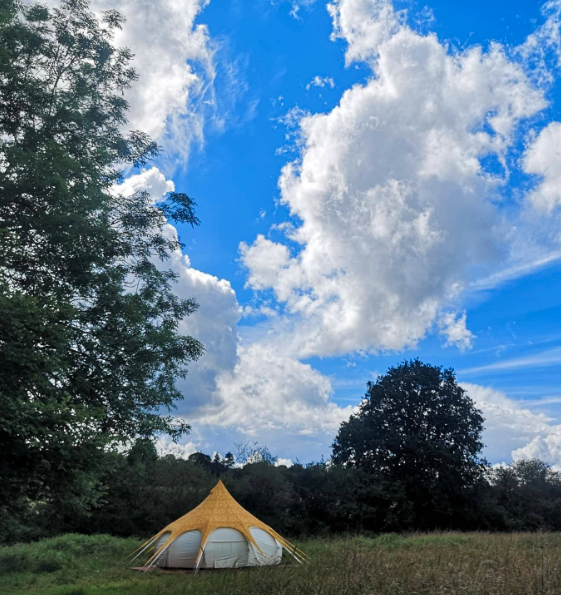
We’ve had quite a few queries here at Lotus Belle HQ as to whether it is possible to install a stove in a tent, whilst using a roof cover.
The short answer is “yes” and it’s a lot simpler than you might think. For ease, we recommend this is carried out by two people.
What’s the purpose of a roof cover?
Roof covers (see our collection here) are an essential investment for your Lotus Belle tent if you plan to pitch under or near trees. They are made from fully machine-washable nylon and protect the canvas from falling tree sap, animal droppings and UV damage. Available in a variety of colours, materials and patterns, they’re also a great way to personalise your Lotus Belle.
What can I use a stove for?
Heat - Portable wood stoves (view the range here) are a safe and efficient way to heat your tent. Requiring a fraction of the amount of wood open fires need, tent wood stoves are a clever way to keep campers toasty.
Cooking - Stoves are also perfect for cooking camping feasts or boiling water for hot drinks. No more baked beans over propane-fueled stoves; guests can enjoy the luxury of home-cooked cooking while camping.
Our handy guide below should explain the process of adding a roof cover to an existing roof and stove exit and how to incorporate the roof cover into the flashing kit “sandwich”!
How to install a stove in a Lotus Belle tent while using a roof cover
- Start by removing the wood stove from the tent but leave the flashing kit installed in the tent roof.
- With the kit installed, push the orange silicone part inside the tent, almost turning it inside out so the collar appears in the tent. This will allow you to isolate the ring section so that you can use it as a template.
- Next, take your roof cover and position it over the tent, so it is in place. Using a pencil or a Sharpie marker, trace around the inner ring of the flashing kit, which is a little smaller than the ring (5mm all around).
- Using a very sharp Stanley knife or scissors, cut along your newly-traced line on your roof cover to create a hole in the cover.
- Lift under the cover (you may need to unhook the guys whilst you do this) and loosen the wingnuts/bolts on the flashing kit. Do not remove it completely - leave it in position, just a little loose so that the “sandwich” is separated a fraction.
- Next, allow the hole in the roof cover to now go over the flashing kit and then slot it in between the bolts of the kit. Once again, do not undo the kit completely. The roof cover hole will slide in snugly around the flashing kit/tent canvas sandwich creating a smooth, flush look from the outside.
- Tighten the wingnuts/bolts on the flashing kit so that your sandwich includes the bottom ring, silicone kit, canvas, roof cover and top ring. Sometimes the flashing kit is installed completely on the outside of the tent, with just the bottom ring on the inside - this is fine as well.
With proper installation, there’s no reason why you can’t enjoy toasty interiors and a protected Lotus Belle canvas simultaneously. If there is any part of the above guide that’s causing you to scratch your head, or you need clarification on any points, please reach out - we’re happy to help. You can get in touch with our friendly team by emailing us at info@lotusbelle.co.uk.